

Foam rolling is more than just a trendy fitness tool—it’s a form of self-myofascial release (SMR) [1] that helps loosen up tight soft tissue, reduce muscle soreness, and improve range of motion. Whether you’re recovering from exercise, dealing with muscle stiffness, or simply warming up before a workout, incorporating a foam roller routine can help release tension, prevent soreness, and promote blood flow through the muscles.
Below, you’ll find a complete guide to foam roller exercises—from full-body foam rolling routines to dynamic full-body movements that target specific areas like the calves, IT band, and chest. These exercises can serve as both a warm-up and a cool-down, making them ideal for improving mobility and reducing muscle soreness.
Step-by-Step Full Body Foam Roller Routine
1. Squat to Overhead Press
How to do it:
- Begin in an upright standing position with legs hip-width apart and a foam roller held at chest height.
- Lower into a squat, then rise while pressing the roller overhead.
Benefits: Engages the lower body, core, and upper body while improving posture and stability.
2. Plank to Leg Roll

How to do it:
- Move into a forearm plank position with the foam roller beneath your shins.
- Contract your core and slowly roll from just below your knees to your ankles.
Benefits: Strengthens the core while providing soft tissue mobilization for the legs.
3. Side Plank to Reach
How to do it:
- Move into a side plank position, holding the foam roller in one hand and maintaining a proper alignment with your head, shoulders, hips and legs.
- Tighten your core and bring the foam roller up toward the ceiling, then lower it back down and extend it under your body.
- Return to the starting position and repeat the movement on the opposite side.
Start with one set of 5 repetitions on each side.
Benefits: Builds core strength and engages the upper arm and shoulder blades.
4. Inchworms
How to do it:
- Stand tall, holding the foam roller in front of you.
- Hinge at your hips and roll the foam roller forward with your hands, moving into a plank position.
- Then, roll the foam roller back toward your feet to return to standing, and extend both arms overhead.
Benefits: Strengthens the whole body and helps warm up before workouts.
5. Rolling Out Feet
Tool: Tennis ball or small foam cylinder.
How to do it:
- While seated, roll from heel to toes, applying as much pressure as tolerable.
- Repeat on the opposite side.
Benefits: Helps with foot pain, shin splints, and improves foot mobility.
6. Ankle Rotations

How to do it:
- Seated with knees bent, lift one foot and rotate it slowly.
- Switch legs.
Benefits: Increases ankle flexibility, reducing the risk of ankle and knee pain.
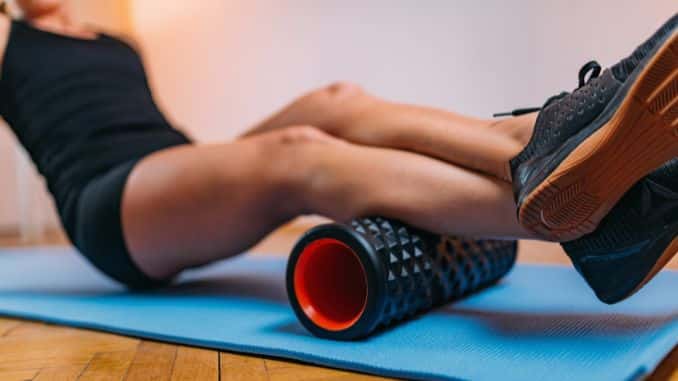
7. Calf Roll & Progression
How to do it:
With legs extended, place the foam roller underneath your calves.
- Lift your hips and roll slowly from knees to ankles.
- For more intensity, cross one leg straight over the other.
Benefits: Releases muscle knots, improves recovery, and reduces muscle tightness in the right calf or left leg.
8. TFL Roll (Tensor Fascia Latae Roll)
How to do it:
- Begin in an upright sitting position on top of the foam roller.
- Move onto your side so that the roller is positioned under one hip and support your upper body on your forearm.
- Engage your core and straighten your bottom leg.
- Bend your top knee and plant your foot on the floor for support, either in front or behind your straight leg.
- Slowly roll from your hip, down to just above your knee and back.
- Repeat the movement. After several repetitions, repeat the movement on the opposite side.
Benefits: Reduces muscle tension and helps with hip flexor discomfort. Avoid applying too much pressure initially.
9. Chest Opener
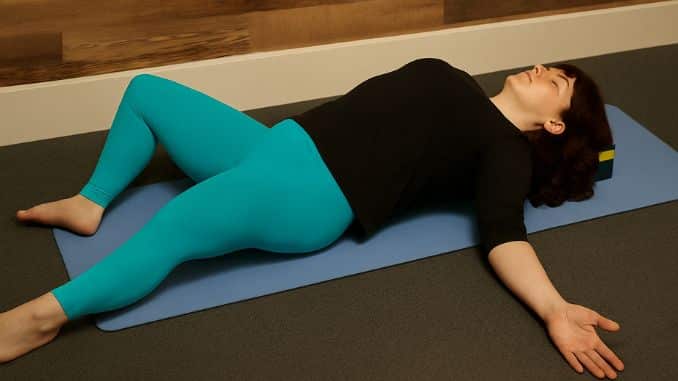
How to do it:
- Place the foam roller vertically under your spine with your knees bent.
- Extend arms out and sweep them overhead.
Benefits: Expands chest, releases connective tissue adhesions, and improves upper back posture.
“Foam rolling is a simple but powerful form of self-massage. When done properly, it can improve circulation, decrease muscle stiffness, and help athletes and everyday people alike move more freely. I often recommend foam rolling before workouts as a way to prime the muscles for activity and after workouts to aid recovery.” — Dr. Mike Reinold, PT, DPT, SCS, ATC, CSCS, a leading American physical therapist and performance specialist.
Conditions That Typically Benefit from Foam Rolling
Foam rolling can support recovery and pain relief for:
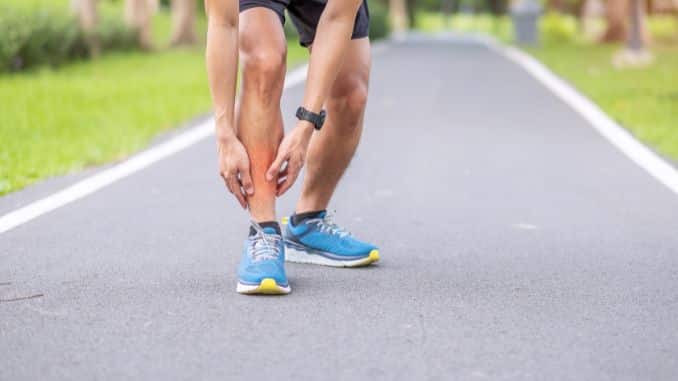
- Delayed-onset muscle soreness (DOMS) [2]
- Knee pain and shin splints
- Hip flexor tightness
- IT band syndrome [3]
- Mid back area stiffness
- Shoulder blade tension
- General muscle knots and painful spots
By addressing myofascial adhesions and trigger points through a targeted KW foam roller routine—focusing on calves, quads, IT band, adductors, glutes, thoracic spine, and lats—foam rolling can complement your work with a physical therapist or certified personal trainer for long-term relief.
Frequency of Foam Rolling
Most experts recommend:
- Warm-up: 5–10 minutes of self-massage with a foam roller to prep your muscle groups for activity.
- Cool-down: 10–15 minutes after workouts to reduce muscle pain and prevent soreness.
- Recovery days: A 15–20 minute foam rolling session can promote soft tissue mobilization and restore mobility.
Remember to roll slowly, breathe deeply, and adjust the pressure as needed, depending on your sensitivity. Always avoid pushing into painful spots for too long.
The Benefits of Foam Rolling
- Improves range of motion and flexibility
- Reduces muscle stiffness and muscle tension
- Aids in self-myofascial release and soft tissue mobilization
- Increases blood flow and recovery speed
- Provides effective self-massage for the whole body
Takeaway
By combining a full-body foam roller routine with targeted foam rolling exercises, you can reduce muscle pain, release tension, and support a healthy range of motion. Incorporate these movements regularly, and you’ll experience the true benefits of foam rolling.
Start your recovery today with this easy foam roller routine to relieve muscle tension and boost mobility. Check out our Recovery Workouts for more targeted exercises to enhance your recovery.

FAQ’s
How often should I use a foam roller?
Most people benefit from foam rolling 3–5 times per week; however, daily sessions are safe if performed with moderate pressure and proper technique.
Can foam rolling replace stretching?
No. Foam rolling improves soft tissue quality and releases tension, while stretching improves flexibility. The best results are achieved by combining both.
Is foam rolling supposed to hurt?
Some discomfort is normal, especially in tight or sore muscles. However, it should never be unbearable. Apply less pressure or adjust the angle if it feels like too much pressure.
Who should avoid foam rolling?
People with fractures, severe osteoporosis, varicose veins, or acute injuries should consult a physical therapist before beginning foam rolling.
How long should I spend on each muscle group?
Spend 1–2 minutes per muscle group. Focus on tender spots and trigger points, but avoid over-rolling the same body part for more than a few minutes to prevent irritation.