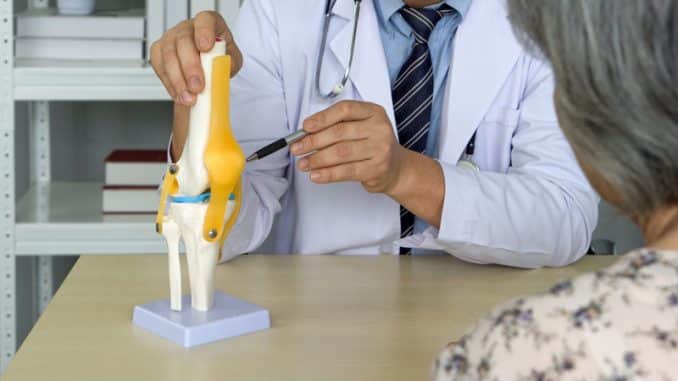
Groin or anterior hip pain is one of the most commonly felt symptoms for the majority of hip conditions. There’s a wide array of conditions that are a culprit for groin pain, and one of them is Femoral Anterior Glide Syndrome. Let’s get deeper into what anterior femoral head syndrome is, how it occurs, and how we identify and manage it.
What Is Anterior Femoral Head Syndrome?
Anterior Femoral Head Syndrome is a movement impairment syndrome that happens when there’s an inadequate glide of the hip joint posteriorly during hip bending movement. This inefficient gliding of the joint can cause hip pain and movement difficulties. The anterior hip joint capsule exhibits excessively increased flexibility due to maintained hip extension in this condition.
Why Does Anterior Femoral Head Syndrome Happen?
To have a better understanding of this syndrome, let’s first look at the anatomy of the hip region.
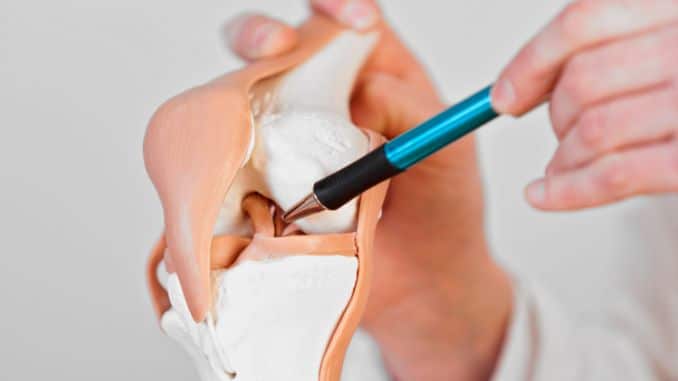
The hip joint consists of the articulation between the femur (thigh bone) and the pelvis. This joint involves the femoral head [1] of the femur and the acetabulum of the pelvis.
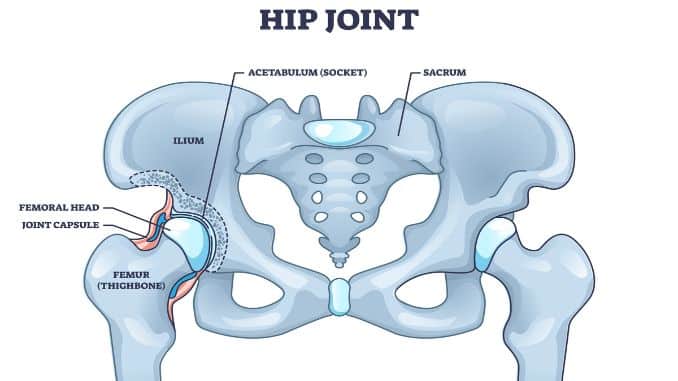
The joint integrity is maintained through the ligaments, surrounding the hip joint to form the hip capsule. This capsule is surrounded by a lining of the synovium, which provides the joint with lubrication through the synovial fluid.
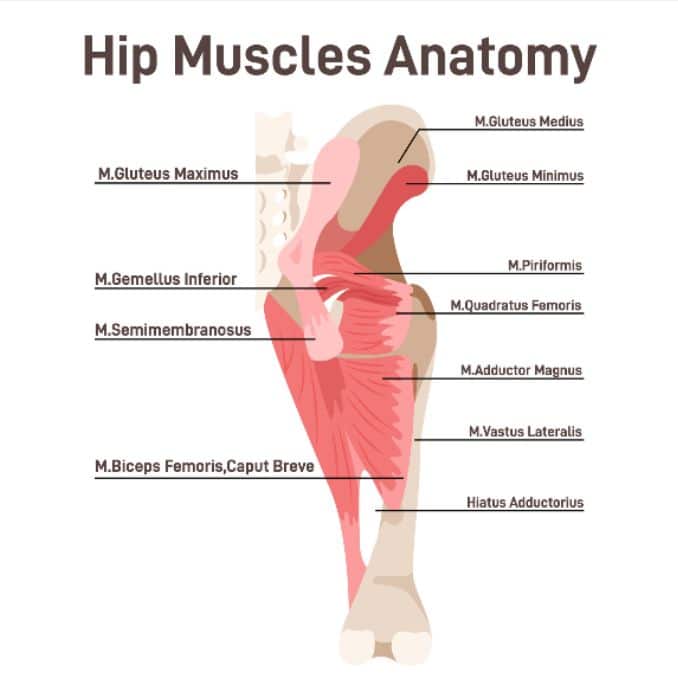
Muscle On The Hip Region
The muscles surrounding the hip joint also support it, in addition to the ligaments and hip capsule. Here are the muscles on the hip region:
1. Gluteal Muscles
These are the muscles located at the back of the hip. The gluteus maximus, gluteus minimus, and gluteus medius are the gluteal muscles. The gluteal muscles are responsible for extending the hip
2. Adductor Muscles
These are the muscles located on the inner thigh and help pull the leg inward. The hip adductor muscles are pectineus, adductor longus, gracilis, adductor brevis, and adductor magnus.
3. Iliopsoas Muscles
These muscle groups are the psoas and the iliacus muscle, located at the front side of the hip. These muscles start in the lower back and connect to the upper thigh bones on each side, and are responsible for bending the hip.
4. Quadriceps
These muscles exist at the front of the leg, running from the knee to the hip. It is also responsible for hip flexion [2], with the function of extending the knee.
5. Hamstrings
These muscles are traced on the back of the thigh from the hip to just below the knee, which is also responsible for extending the hip.
Causes Of Femoral Anterior Glide Syndrome
In the principle of movement, the femoral head posteriorly glides during hip flexion freely, but in but in Femoral Anterior Glide Syndrome syndrome the posterior glide is insufficient. There are various reasons for developing a lack of posterior glide during hip flexion. It could be due to a tight posterior joint capsule, or posterior hip muscles such as the hamstring muscle. This predisposes the joint to hyperextension, which results in limited space for the femoral head to glide.
Implications Of Anterior Femoral Head Syndrome On Hip Joint Alignment
Additionally, there is an indistinctive spinning of the femoral head during this movement. The principal movement impairment in this syndrome is imprecise spinning of the femoral head during hip flexion, which is known as Anterior Femoral Glide Syndrome. This spinning is related to a faulty starting position of the anterior femoral head or an anterior glide during hip flexion.
The weakness of the psoas is an important factor in these anterior hip patterns. It also plays an important role in terms of hip and lumbar stability. When the psoas is inhibited, it is not able to contract in a timely manner, allowing the anterior hip capsule to be lax, making the femoral head drop anteriorly and laterally, jamming into the hip capsule.
Another cause of the anterior femoral head syndrome is the dominant contraction of the hamstring muscle. As we know, the hamstring originated on the pelvic bone, with distal attachment to the shin bone. This condition makes the distal portion of the thigh bone to be the only one moving backward during hip extension. No posterior movement happens at the upper end of the thigh bone, resulting in more displacement of the hip joint forward. The lack of activation from the glute muscle also contributes to the movement of the distal segment of the thigh bone.
On some occasions, the hip joint will also move towards the midline of the body when it is jammed anteriorly. This is because of the shortened tensor fascia latae muscle at the side of the thing. This stretch on the TFL when extending the knee can rotate the thigh bone medially.
Who Are at Risk Of Having Anterior Femoral Head Syndrome?
The anterior femoral head syndrome, also known as Anterior Femoral Glide Syndrome often occurs in young people, especially in athletes. This condition more commonly predisposes distance runners or soccer players.. Additionally, Those who perform activities associated with end-range movements and stretching exercises such as dancers, participants in martial arts, or yoga practitioners.
How Anterior Femoral Head Syndrome Is Checked?
Movement assessment primarily uses the anterior femoral head syndrome as a movement syndrome. The movement assessment will comprise the following:
1. Walking
Check for the hip and knee extension while walking. A common observation in walking is the heel lifts more quickly after midstance to avoid prolonged hip and knee extension. This position of the heel may decrease the pain. In individuals with Femoral Anterior Glide Syndrome, this modification in walking pattern may help alleviate discomfort.
2. Hip Range Of Motion Assessment
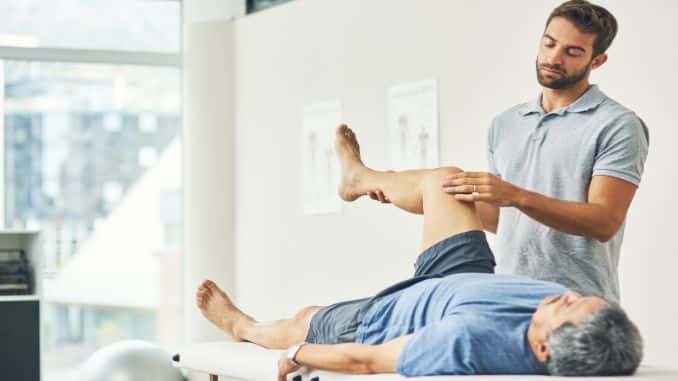
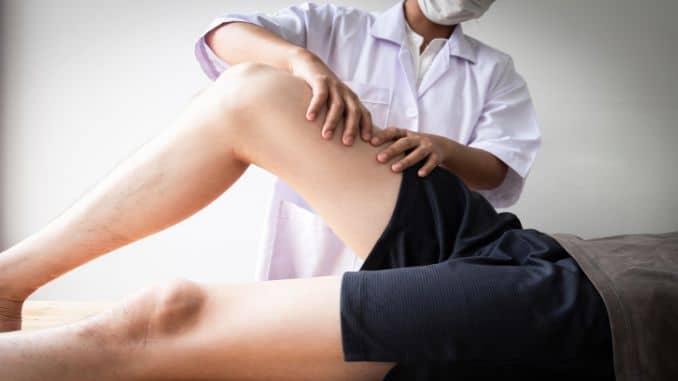
Movement from hip bending to hip extension is done while palpating the bony landmarks of the thigh bones to check the glide of the joint during movement. Movement can be done actively (on your own with the supervision of your healthcare provider) or passively (by your healthcare provider).
3. Hip Flexion
Hip bending can be done in two ways: in straight leg raising (hip flexed and knee extended), and knee-to-chest hip flexion (hip flexed and knee flexed). All of these movements are assessed while lying down on your bed.
Results in straight leg raising that shows the front deviation of the proximal thigh bone when the movement is done actively confirm the presence of confirm the presence of Anterior Femoral Glide Syndrome. Additionally, if the straight leg raising is done passively, with backward glide applied at the crease of the groin elicits pain, stiffness, and decreased range of movement, it confirms the presence of the condition.
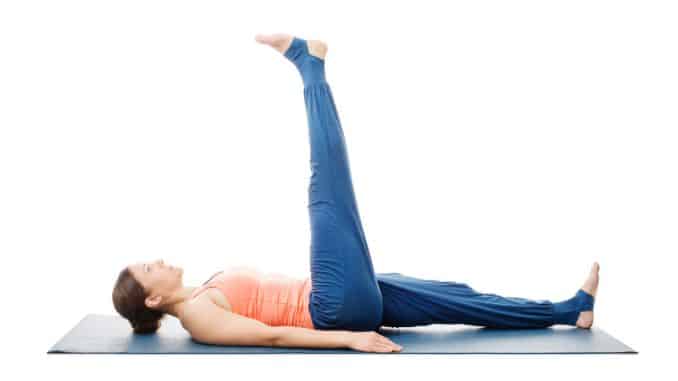
On anterior femoral head syndrome, active hip flexion is more painful in the groin than passive movement.
Meanwhile, the presence of pain after 90 degrees of knee-to-chest hip flexion indicates anterior femoral head syndrome. For passive knee-to-chest, stiffness is evident with an increase of pain-free hip flexion when backward glide is applied at the crease of the groin.
4. Knee-To-Chest Hip Range Of Motion Assessment
4. Hip Extension
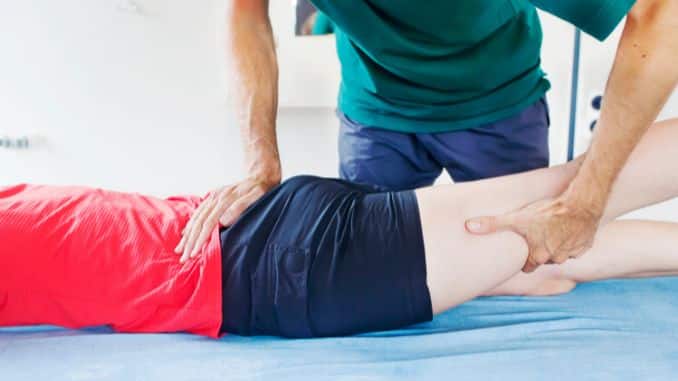
Upon active hip extension, there will be dominating contraction of the hamstring muscles, with less activation of the gluteal muscles. This can be evident by the late onset of activation of the gluteal muscles. This can be an indication of the anterior femoral glide syndrome. Furthermore, the glide of the hip joint can be assessed by palpating the greater trochanter, a structure of the thigh bone, during hip extension.
5. Assessment Of The Pelvis
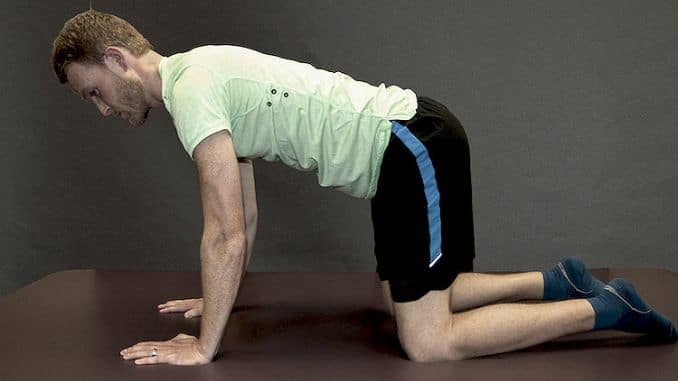
Assess the level of the pelvis by positioning on your hands and knees, then slowly rock the body backward. Commonly observed for people with anterior femoral head syndrome includes the pelvis on the involved side appearing higher than the other. This is due to the thigh bone not gliding posteriorly during this movement.
6. Joint Mobility Test
Joint integrity is assessed through joint mobilization techniques. Findings on anterior femoral head syndrome show limitations in joint movement toward hip flexion.
7. Muscle Length Testing
The muscle length test assesses the flexibility of the muscles during movement. Upon this assessment, hamstrings are more often shortened, with lengthened iliopsoas muscle.
8. Muscle Strength Assessment
Aside from assessing flexibility and joint mobility, strength is also assessed. Common findings on people with anterior femoral head syndrome weak iliopsoas muscle, gluteal muscle, and core. Additionally, dominated hamstring strength is also a common finding in muscle strength tests.
What Are The Signs And Symptoms?
Here are the signs and symptoms to check when you have anterior femoral head syndrome:
Groin pain is present during active hip flexion or standing. It may progress to generalized aching pain in the whole hip region.
The development of generalized pain can be caused by joint inflammation due to impaired movement of the hip joint.
- The impaired posterior glide of the hip joint, especially during hip flexion.
Other Conditions To Differentiate From Anterior Femoral Head Syndrome
There are different conditions that can also manifest as groin pain. Differential diagnosis is important to delineate these conditions from the anterior femoral head syndrome and to provide appropriate intervention.
What are the conditions related to the anterior femoral head syndrome?
- Iliopsoas tendinopathy
- Iliopsoas bursitis
- Avascular necrosis
- Hip arthritis
- Acetabular labral tear Hip dysplasia
- Femoral Acetabular Impingement
- SI joint dysfunction
How Anterior Femoral Head Syndrome Is Managed?
Anterior Femoral Head Syndrome is one of the movement impairments, so primarily it can be managed through corrective exercises. Unfortunately, we do not have a program that is specific to this condition. However, there are a lot of exercises that you can do in order to correct this problem.
Relative rest is essential. This means balancing rest and activities, whilst modifying your activity to prevent pain-provoking positions and movement. If the labrum is only bruised, and not torn, it can heal, so long as the impacting movement is limited, and surrounding muscle groups are simultaneously strengthened.
Movement need not be fully limited — indeed, a balance of strength and flexibility training is essential in the healing process.
1. Mobility Exercises
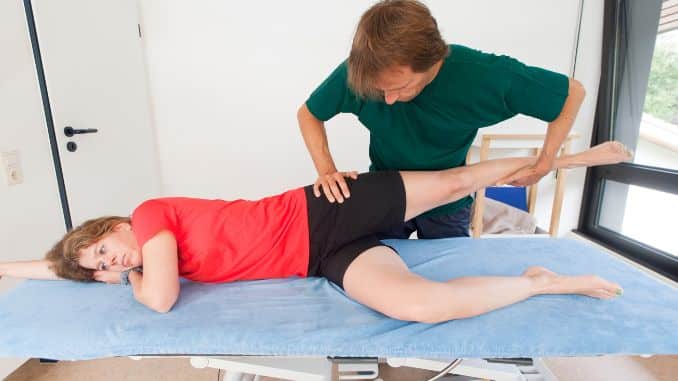
Joint mobility interventions are first included to mobilize the hip joint and improve the posterior glide. Here’s how you can mobilize the hip joint independently:
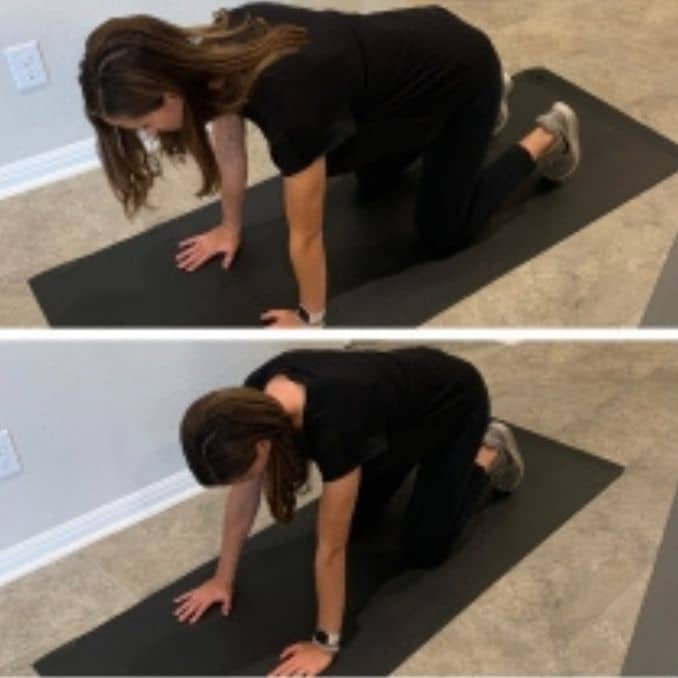
2. Quadruped Rock Backs
Position yourself on hands and knees, with your back in neutral. You can do this on the floor or on your bed. While maintaining this position, gently rock back toward your heels until you feel your tailbone start to tuck. Hold for 3-6 seconds, then rock forward to starting position. Repeat for 1 set of 5-10 repetitions.
3. Stretching Exercises
Length shortened tensor fascia latae at the side of the thigh, and the hamstring at the back of the thigh. To best lengthen these muscles, here are the passive stretches that you can do:
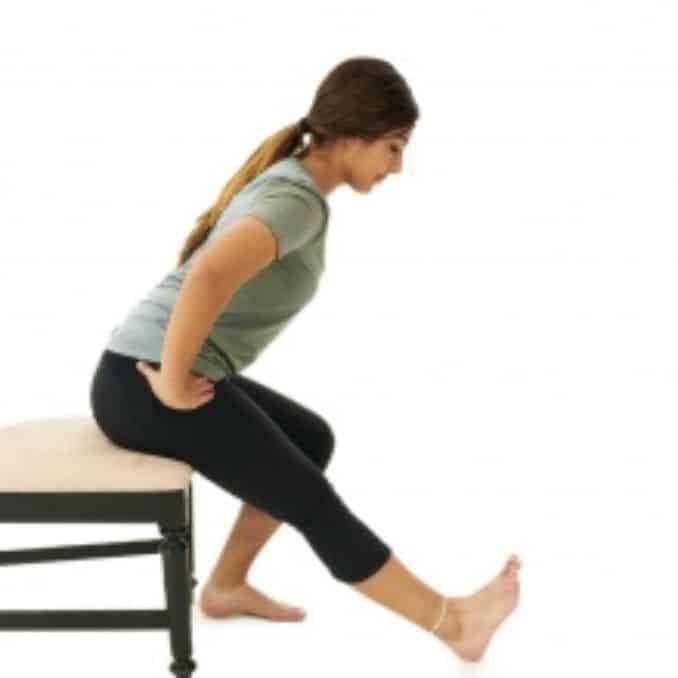
4. Seated Hamstring Stretch
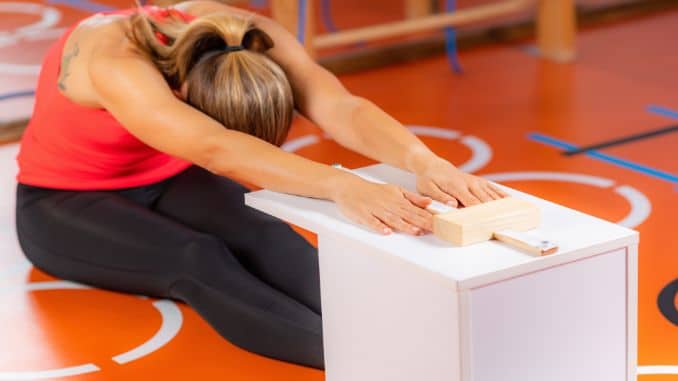
Sit on a stable surface, resting your heel on the floor with your knee straight. Then, gently lean forward until a stretch is felt behind your knee/thigh. Maintain a neutral back while doing the stretch by bending through your hips. Hold the stretch for 15-30 seconds, then relax. Repeat for 5 repetitions.
5. Strengthening Exercises
Strengthening neighboring muscle groups that may have gone slack due to reliance on flexibility over strength will also be essential.
In particular, you may see weakness in the following areas:
Weak gluteus muscles – Best Gluteus Maximus and Best Gluteus Minimus Exercises are the programs recommended to strengthen these muscle groups.
- Weak Piriformis and Psoas
Weak engagement of abdominal muscles and pelvic floor – core and pelvic floor exercises are recommended.
As such, exercises that strengthen these muscle groups, as well as the coordination between them, may be useful in the mitigation of injury. Perform the following exercises to target specific muscle groups.
For Your Glutes And Piriformis
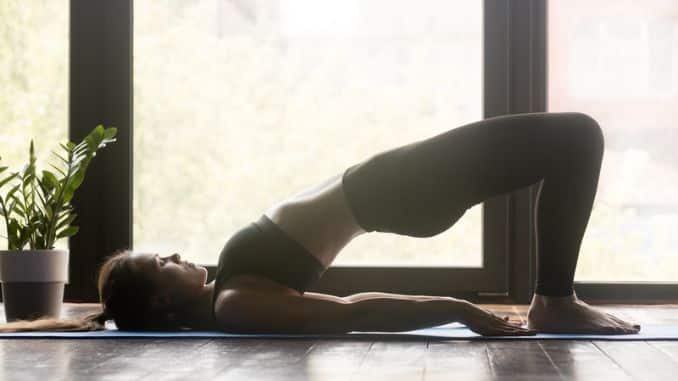
1. Bridging
Begin this exercise while lying on your back with both knees bent at about a 45-degree angle and both feet flat on the floor. Let your arms rest at your sides. Slowly lift the hips by pushing on the floor with your feet until your knee, hip, and shoulder are in a straight line. Repeat for 12 reps.
2. Lateral Band Walks
Put a resistance band above each ankle. Separate feet slightly as you get into a 45-degree angle squat with your abs tucked (feel like you are trying to touch your belly button to your backbone). Step laterally.
Keeping your shoulders even, bring another foot in towards the lead leg to finish your step. Repeat in the same direction for the length of the room. Return to the other side of the room facing the same direction.

For Your Psoas
1. Hanging Leg Lifts
Perform hanging leg lifts using a pull-up bar positioned high enough so your feet can’t touch the floor when your legs are fully extended. The psoas muscles contract during the exercise to pull your knees toward your chest and to control the speed of movement as you extend your legs back down.
Hang from the bar with your hands shoulder-width apart, palms facing forward, and feet together. Flex your hips and knees simultaneously, drawing the latter upward as high as possible, then slowly return to the starting position and repeat. Avoid swinging your legs to build momentum into the upward phase of the exercise. Wear ankle weights to increase resistance.
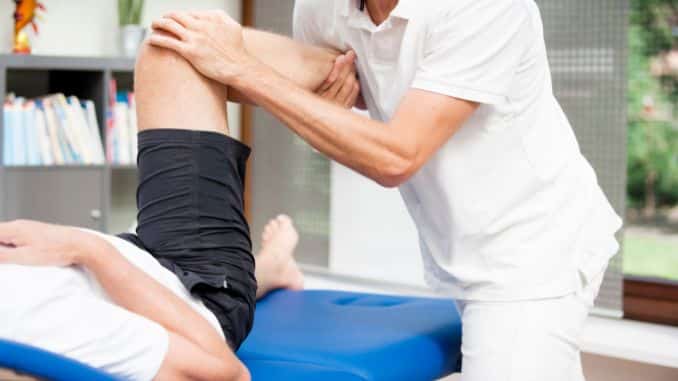
2. Assisted Hip Flexion
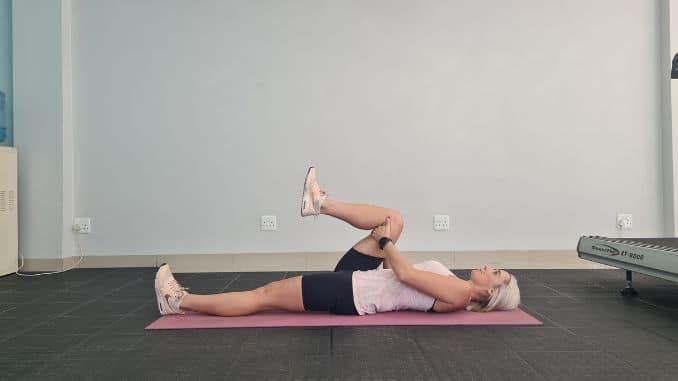
You will use a towel for this exercise. While lying down on your back, place the towel around your thigh, then pull this leg’s knee toward the chest. Maintain the hip flexors relaxed, relying wholly on the towel for movement. It may be necessary to slightly rotate laterally and move the hip away from the body. Do this for 2 sets of 10 repetitions.
3. Active Isometric Knee-to-Chest
This is a progression to the assisted hip flexion exercise. You can do this in 2 ways:
Supine Isometric Knee-to-Chest – While lying down on your back, hold your thighs as you move the knee to your chest. Move into the pain-free comfortable range. Once you reach this range, hold the position actively for 6 seconds. Then relax by returning to the starting position. Repeat for 5-10 repetitions. This will be helpful in recruiting the iliopsoas muscle.
Sitting Active Hip Flexion – Sit on passively flex the hip by using his or her hands to lift the thigh to maximum flexion and then remove the hands from the thigh and actively hold the thigh in flexion.
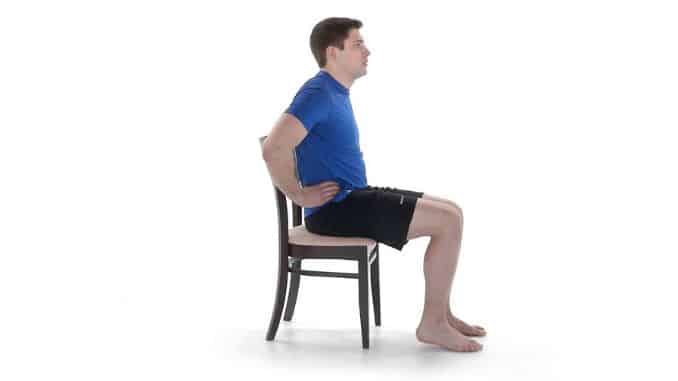
4. Progression
Once the hip is pain-free, you can progress into applying a gentle push against the knee-to-chest movement. Repeat for 6 seconds, then repeat for 1 set of 10 repetitions.
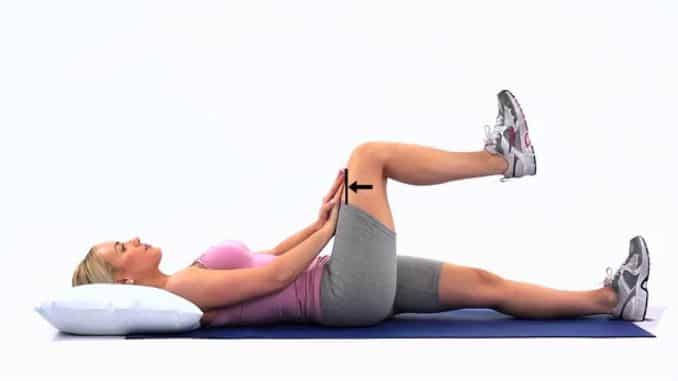
5. Standing Gate Openers
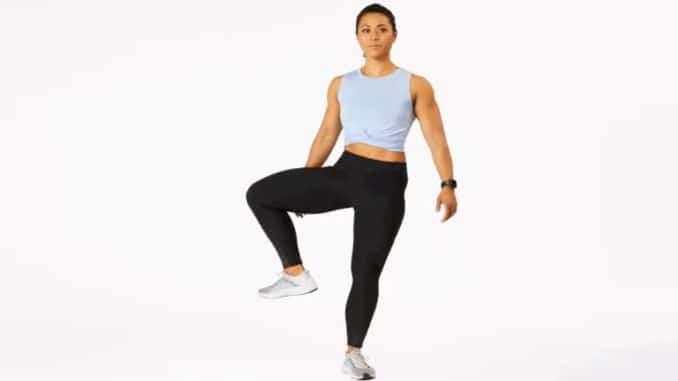
Like hanging leg lifts and the lever hip flexion exercise, standing gate openers strengthen the psoas muscles through hip flexion and extension ranges of motion. Additionally, the exercise targets the gluteal muscles that lie behind your hip joints.
Stand with your feet about 6 inches apart and your arms at your sides. Lift your left foot and flex your left knee, drawing it toward your chest. When your thigh is parallel to the floor or higher, move your knee to the left, opening your hip as far as possible. Return to the starting position; then repeat with your right leg. Continue alternating sides for your desired number of repetitions. Wear ankle weights for extra resistance.
Focus on this movement because moving the hip towards the center of the body can initially impinge the anterior hip capsule. Focusing on rotating the hip outward and moving it away from the body can help in stretching the tensor fascia latae.
6. Postural Correction
One of the factors leading to anterior femoral head syndrome is improper posture, especially in standing. Moreover, postural correction techniques are important for management. Here are the following to consider:
- Perform sit-to-stand without rotating the hips medially.
- Do not sit with your leg crossed or your thigh over the other thigh. If you must cross your leg, sit with your outside leg on the opposite thigh.
- The patient should not sleep with the hip rotated medially.
- Swayback standing is a postural deviation most commonly associated with the anterior femoral head syndrome. Therefore correcting this alignment is crucial. You can stand with your back to the wall as a guide on the vertical alignment.
- Utilize a mirror as visual cues by standing in front of it sideways, and pulling your hips backward.
Try these exercises and see if they will improve your condition. If any intolerable symptoms like pain or discomfort with these exercises, please discontinue. A medical consult is also recommended should there be no improvement with the exercises given above.
Takeaway
The anterior femoral head syndrome needs to be considered when there’s groin pain present in the hip area. Knowing more about this syndrome and a simple guide can help manage its signs and symptoms. More importantly, coordinating with your medical doctor and physiotherapist is beneficial for your recovery.
Ready to elevate your fitness routine? Discover the Best Gluteus Maximus Exercises that will sculpt, strengthen, and define your glutes like never before! Don’t miss out—start shaping your gluteus maximus today and achieve the results you’ve always wanted.

