

Good posture isn’t just about looking confident—it’s your first defense against injury. From lifting weights to daily activities, posture affects your muscles, performance, and long-term joint health.
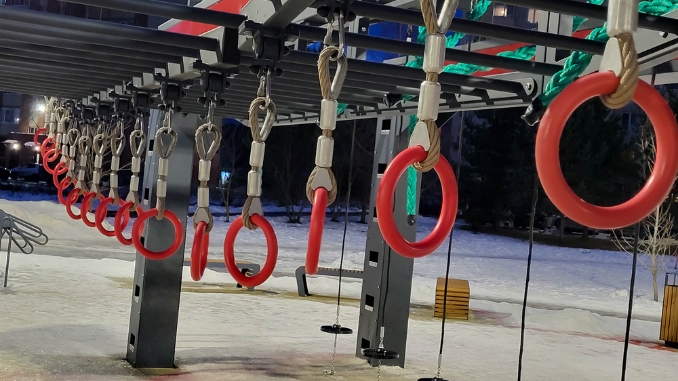
If you want bulletproof shoulders and a stronger upper body, incorporating gymnastic ring [1] exercises into your training routine can be a game-changer.
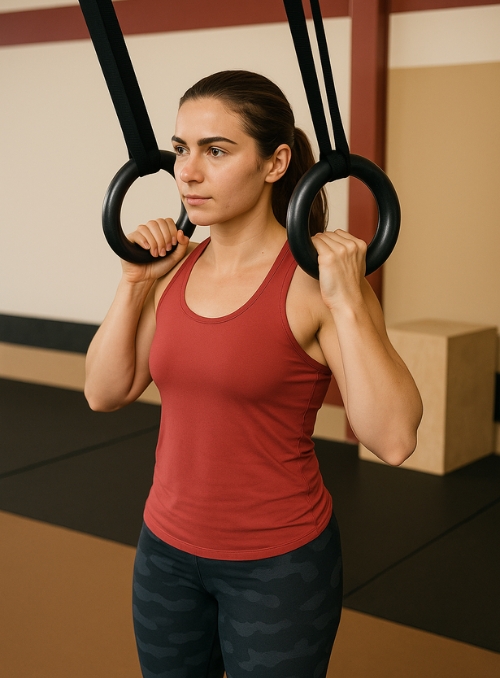
Training on the rings challenges your upper body muscles, boosts core strength, and improves body control in a way few other tools can match. But before you dive in, it’s crucial to follow the right steps—especially if you want to avoid injury and get the most out of your rings workout.
Here’s your progressive roadmap for ring training [2], starting with beginner-friendly movements and progressing to more advanced exercises.
Beginner Level
1. False Grip Bodyweight Ring Row
- Grab the rings with a neutral grip (palms facing each other)
- Pull your hands towards your armpits, keeping your shoulder blades squeezed together.
- Perform 3-5 sets of 10+ reps.
2. Ring Push-Ups
- Set the rings 1 foot above the ground.
- Get into a push-up position with a straight line from head to heels.
- Keep shoulders pulled back at the bottom to avoid impingement.
- Complete 3-5 sets of 10+ reps.
Intermediate Level
3. False Grip Ring Pull Ups
- Maintain a false grip through the entire movement.
- Pull your body up so your elbows move toward your hips.
- Aim for 3 sets of 8 reps.
4. Ring Dips
- Jump into the ring, holding a support with your arms fully extended.
- Lower yourself in a controlled manner and press back up.
- Allow the rings to turn slightly outward while keeping your arms close to your body for shoulder safety.
Advanced Level
5. Full-Range Ring Dips
- Gradually increase your range of motion until comfortable with deep dips.
- Keep shoulder blades retracted in the bottom position.
6. Muscle Up Negatives
- Jump to the top of the dip position, then slowly lower through the entire movement to a hang.
- Perform 1-3 controlled reps to build strength and technique before processing to full muscle-ups.
- Maintain a false grip.
- Pull your knuckles below the collarbone, transition your chest over the rings, and press to support.
Christopher Sommer, former U.S. National Team Gymnastics Coach, emphasizes that gymnastic rings are “one of the most effective tools for building upper body strength and shoulder stability because they force the body to stabilize in all planes of movement.”
Sommer points out that ring training not only develops raw strength but also trains joint integrity and tendon resilience, which are critical for preventing injuries in high-intensity strength training.
How to Prevent Injuries on the Rings
Ring exercises for shoulders can transform your strength—but improper technique or rushing progression can lead to pain. Here’s how to train safely:
1. Start With Solid Basics
Never skip foundational moves like ring rows and ring push-ups. They condition your upper body muscles and develop shoulder stability before moving into more advanced movements.
2. Control the Rings
Wobbly or unsteady rings put unnecessary strain on your joints. Keep the rings close to your body during pressing and pulling movements to protect the shoulder joint.
3. Master Body Position
Maintain a straight line or plank position in all exercises. Avoid arching your back—keep your core engaged and legs straight or in tuck position when needed.
4. Use Resistance Bands for Assistance
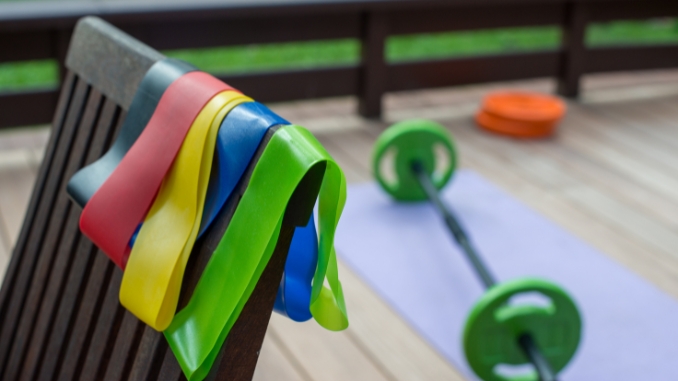
For challenging moves like assisted ring dips or ring pull-ups, resistance bands reduce load while letting you practice form.
5. Progress Gradually
Jumping straight to muscle-ups or iron cross attempts can overload the shoulders. Increase difficulty slowly—master classic exercises first, then add weight vests or progressions.
6. Warm-Up & Activate
Before your gymnastic rings exercises, warm up your shoulder blades, chest muscles, and rotator cuff. Dynamic stretches, scapular mobility drills, and rotator cuff activation can prep the joints for work.
Why Gymnastic Rings are a Great Exercise Tool
- Build strength and stability: The instability of wooden rings challenges your muscles, grip, and body control, driving strength and stability gains.
- Developing upper body strength: Every ring exercise recruits multiple muscle groups, making it a challenging workout that’s incredibly effective.
- Versatility: From ring push-ups to front lever progressions, you can target every upper body muscle group with just one tool.
Sample Rings Workout Routine
- False grip rings rows – 4×10
- Ring push ups – 4×12
- Ring dips – 3×8
- Muscle up negatives – 3×3
- L-sit hold on rings – 3×20 seconds
Final Tip: Take your time. Ring training rewards patience. Perfect your form, respect progressions, and you’ll unlock massive upper body strength while keeping your shoulders healthy and pain-free.
Conclusion
Gymnastic rings exercises are a powerful way to build strength [3], stability, and bulletproof shoulders. Start with the basics, progress slowly, and focus on control to prevent injury. With patience and consistent training, you’ll master ring exercises for shoulders, improve body control, and unlock serious upper body strength that lasts.
Unlock a Pain-Free Life! Discover the secret to overcoming shoulder pain with Shoulder Pain Solved. Our proven strategies and expert guidance can help you regain full mobility and live without discomfort.

FAQs
Are gymnastic rings exercises good for beginners?
Yes. While ring training can look intimidating, beginners can start with exercises like ring rows, ring push-ups, and assisted dips. These build upper body strength and shoulder stability without overloading joints.
What muscles do ring exercises for the shoulders target?
They primarily work the deltoids, rotator cuff, trapezius, rhomboids, and serratus anterior, with strong engagement of scapular stabilizers. Since rings require constant stabilization, core muscles and arms also get heavily engaged.
Can gymnastic rings replace regular weight training?
Not entirely. Rings are phenomenal for body control, functional strength, and joint stability, but if your goal includes maximal strength or hypertrophy, combining them with traditional weightlifting can give balanced results.